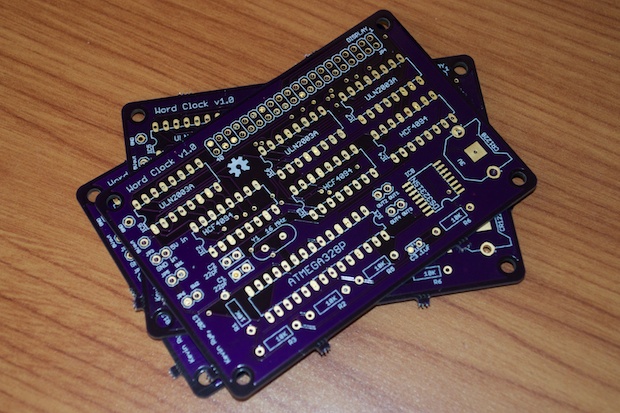
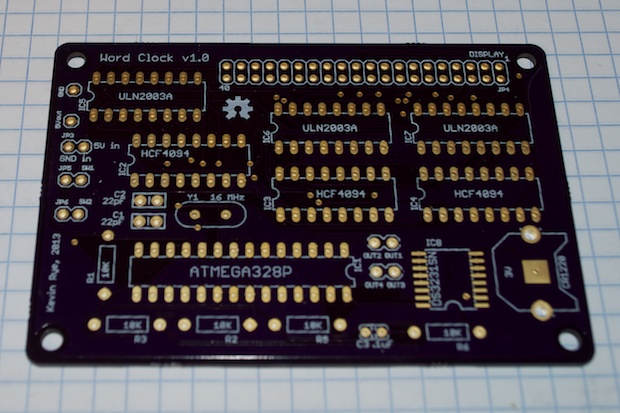
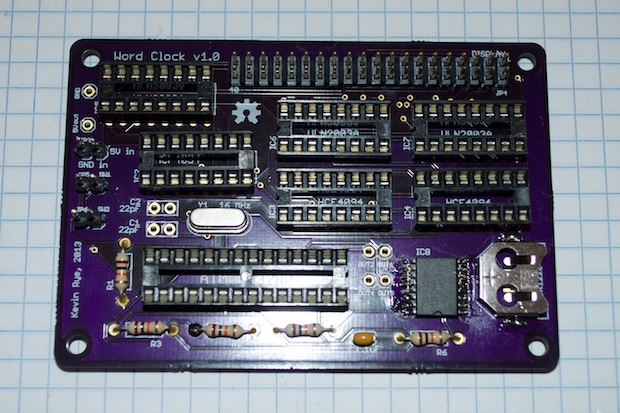
After 18 days, my Word Clock PCBs finally arrived. Man, does it take forever for them to turn around a board! The long wait aside, they look great. I just hope I didn’t screw anything up on this board. I didn’t have much luck with the
SoundBox boards. That was a disaster!
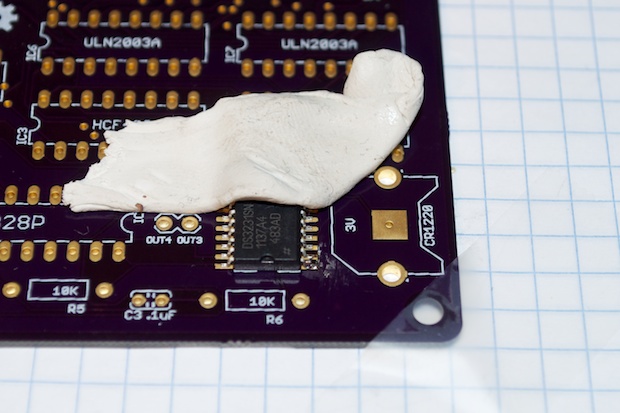
First thing’s first: I’m going to solder that SMD RTC first. Just like the
LCD clock, I’d hate to leave it to the end and then make a mess out of it.
FunTak rocks at keeping your parts in place while you solder them into position.
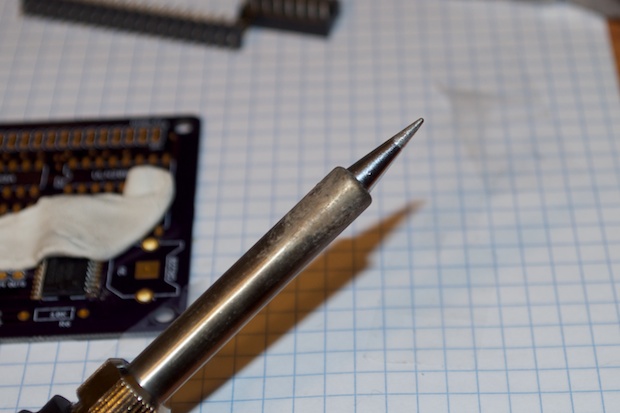
I got the chance to try out one of my new super pointy tips. I knew they’d come in handy for fine SMD work!
From the angle of the shot, that DS3231 looks like a horror show, but it’s not. It soldered nicely. I had to turn the iron down a bit half way through. I guess the boards are slightly laminated. Too close with a hot iron and it gets kind of shiny.
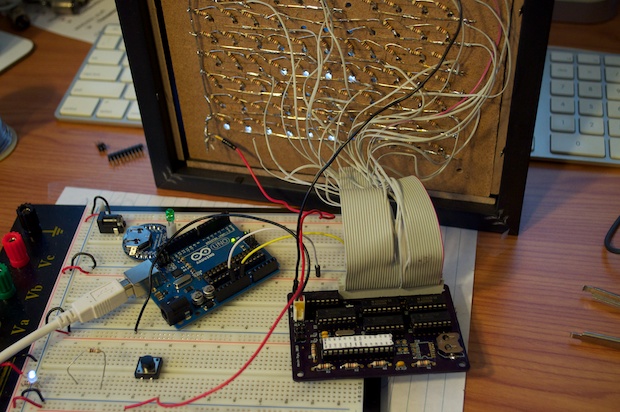
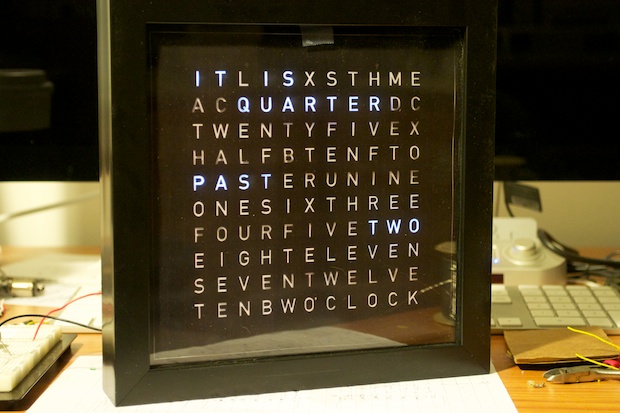
Once everything was assembled, it was time to connect it to the display and see if it works. (You’ll notice that the DS3231 has been ripped off the board. After some software modifications…I got it working. That goof is better
explained here.)
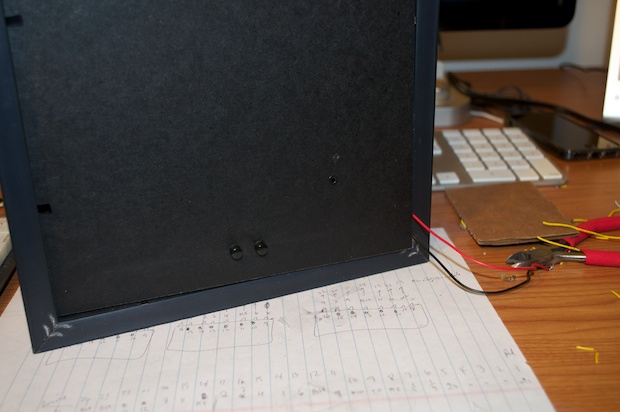
Looks good. In order to stop the LEDs from shorting against the back of the PCB, I placed a piece of cardboard between the two.
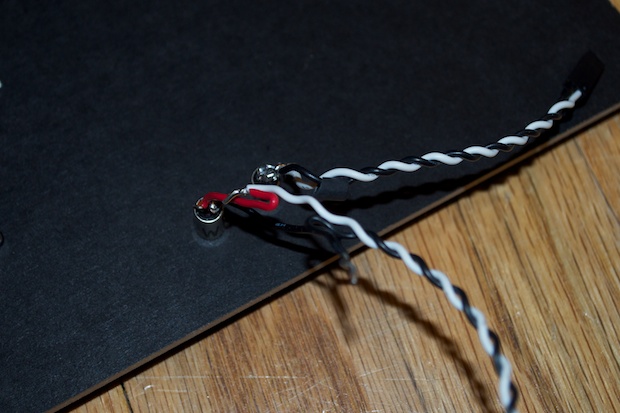
I screwed in the “up” and “down” set buttons.
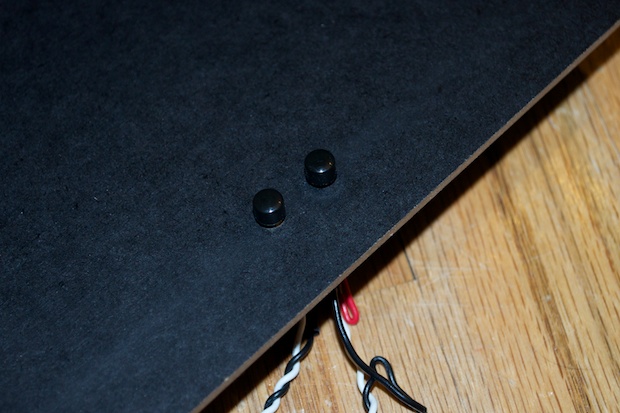
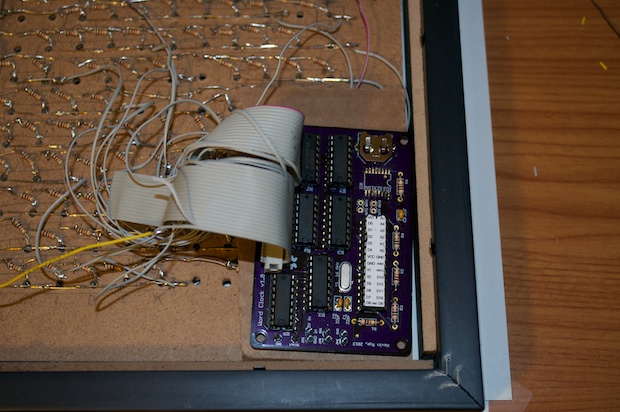
I then connected those to the board. It was at this point that I realized that the headers I chose for the switches are too tall to fit inside the enclosure. Come to think of it, I don’t know why I chose to make it so easy to disconnect everything anyway. Why didn’t I just solder the switches directly to the board? Sure, it’s nice to make everything modular, but I don’t think I’m every going to need to rob anything from it once this clock is complete. So who cares if everythign is all soldered together?
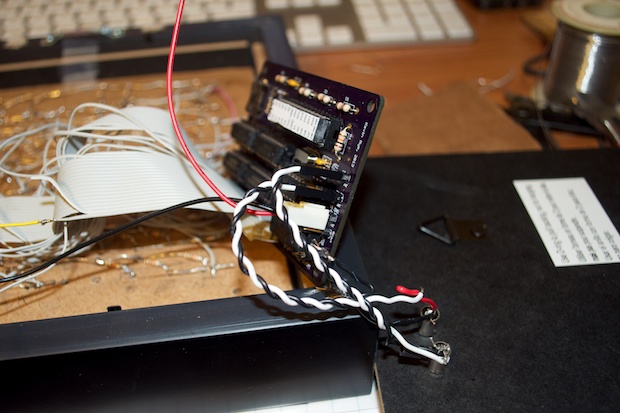
With that, I got rid of the headers. I still haven’t quite decided on where the DC jack is going to go. So for now, I’m going to just run some wires out the side until I can figure it out.
OK, looking good. Everythign seems to work and the “up” and “down” buttons do their thing.
I torn the DS3231 out, so I’ll have to fix that. Then all I’ll need to do is figure out where to put the DC jack, tidy up the overlay, and I’m good to go.
See this project from start to finish: Word Clock Testing 200 White LEDs Started the Word Clock Completed The Word Clock PCB Finishing the Word Clock Display Started the Word Clock PCB Build
Completed the Word Clock
